All exterior wooden structures have one thing in common: They all require maintenance.
This is certainly the case for wooden decks. You’ll need to work to maintain your deck, and you may eventually even decide to restore it fully. The first step in this process is sanding it with a random orbital sander.
A random orbital sander is a specialized tool that sands wood in an elliptical pattern. It’s the most efficient sander to use when refinishing a deck, as they’re easy and practical to handle. The abrasive sandpaper motion travels in an irregular pattern instead of a consistent line or circle, so you’ll see far fewer mechanical patterns on your deck surface when you use a random orbital sander than you would with other types.
Every sander performs the same primary task — they use abrasive materials to cut through unwanted surface and leave a smooth finish ready for staining and sealing. Understanding how your sander works can help you get the best possible deck finishing results. It also enables you to make sure that you’re always sanding safely.
When starting a deck refinishing project, many people jump to specific details like what grit of sandpaper to use or whether they need to sand the entire deck before staining. We’ll answer those questions — but first, we’ll review some basic information you need to know before sanding your wooden deck.
- What Is the Best Sander for Sanding Your Deck?
- What Are the Types of Random Orbital Sanders?
- What Are the Different Sandpaper Grits?
- Considerations for Sanding a Deck
- Common Sanding Mistakes
- Signs You Should Sand Your Deck
- How to Sand a Deck
- Benefits of Sanding a Deck
- What Are the Most Common Deck Sanding Questions?
- Rely on National Abrasives, Inc. for Deck Sanders and Supplies
Shop Random Orbital Sanders Now
What Is the Best Sander for Sanding Your Deck?
There are a few different sanding methods you can use for deck refinishing jobs. They range from the time-consuming and labor-intensive hand-sanding process to renting a professional drum sander to finish hardwood floors. While hand sanding isn’t as efficient, drum sanders are tricky to use and have a long learning curve. They can also get away from you and cause more damage than good.
If you need to sand the handrail or corners of a deck, then you’re on the right track with an orbital sander. However, you’ll want to consider other sanders beyond regular orbital sanders that spin in a consistent circle. While they work where a belt sander won’t, straight orbital sanders leave swirl marks because of their consistent motion. You can only vary a regular orbital sander’s motion by moving it by hand and compensating with your own pattern.

However, a random orbital sander’s design allows it to move elliptically, blending sanding directions of with-grain and cross-grain. Random orbital sanders let you work across your entire deck without having to worry about always keeping a straight line. An Orbit Sander will make your deck sanding job more even and a lot faster.

What Are the Types of Random Orbital Sanders?
There are a few different types of random orbital sanders you can choose from for your wood deck restoration project. While brands can be a personal choice, the kind of sander must match your needs. Determining the type of random orbital sander starts with selecting the power supply. There are two types to choose from:
- Pneumatic Random Orbital Sanders are powered by compressed air, making them quieter to operate, and require expensive air compressors and hoses to work. Pneumatic random orbital sanders are the best choice for auto body repair shops. However, purchasing an air-powered sander for a deck project isn’t practical.
- Electric Random Orbital Sanders are by far the best selection for wooden deck refinishing. Electric sanders operate on a 110-volt household current, and their amperage requirements vary depending on the size of the motor. An electric random orbital sander can be used without an expensive support system and is a much more affordable option.
Once you’ve decided on an electric random orbital sander for your deck, you need to consider size. This includes the actual size of the sander, its power capacity and the size of the sanding surface. This determines how easy it’ll be for you to operate the sander as well as how much material it can remove in a given time. For most projects, you’ll want to choose from the main orbital sander sizes:
- 3-inch diameter orbital sanders are for do-it-yourself woodworkers who need to sand in small, compact areas.
- 5-inch diameter orbital sanders are ideal for do-it-yourself woodworkers. They’re relatively compact and don’t require a lot of force to control.
- 6-inch diameter orbital sanders are suited for more extensive commercial work. That one-inch difference might not sound like much, but the bigger orbit sander gives you 45% more abrasive area.
Electric Orbital Sanders
- Mirka DEOS 353CV 3-inch x 5-inch Electric Orbital Sander
- Mirka DEOS 383CV 3-inch X 8-inch Electric Sander
- Mirka 5-inch DEROS 550X CV 125mm Vacuum 5mm Sander
- Mirka 6-inch DEROS 625X CV 150mm Vacuum 2.5mm Sander
- Mirka 6-inch DEROS 650X CV 150mm Vacuum 5mm Sander
Pnuematic Orbital Sanders
- Mirka 3-Inch MR-350 Finishing Sander
- Mirka 3-Inch MR-3SGV Finishing Sander
- Mirka 5-Inch MR-5 Finishing Sander
- Mirka 5-Inch MR-525 Finishing Sander
What Are the Different Sandpaper Grits?
Now that you’ve chosen what random orbital sander works for you, it’s time to select the right coarseness or grit of sandpaper to use on your wooden deck. Sandpaper is rated in numbers and it runs from very coarse at 60 grit up to very fine at 240 grit. Sixty-grit removes material quickly but leaves the surface rough. High-grit paper, on the other hand, gives more of an ultra-smooth finish.
What you want is a two-step sanding process. Our recommendation for wooden deck refinishing is to start with coarse paper like 80 grit and give the surface an even pass. Don’t be too aggressive and create dips and gullies, but don’t be too obsessive and expect perfection. Then, give your deck a second sanding with smoother paper like 100 grit sandpaper.

You shouldn’t need any more than these two sanding grits, but it depends on the type of deck wood you’re working with. Softwoods with open grains, like cedar, fir and redwood pine, are typically used for decks, and their softer wood means they sand quickly. You may need finer abrasives to make sure the wood’s pores can be properly sealed. Hardwoods such as teak and oak have closed grains and naturally seal better than open grains. Make sure you select sandpaper grits that work well with the type of wood in your deck.
You should also make sure you buy quality sandpaper from a specialized supplier. There’s a vast difference in the types of sandpaper available today. More expensive sandpaper has superior cutting abilities and will stay sharper much longer than cheaper sandpaper commonly sold by big-box stores. With sandpaper, you get what you pay for. Further, you’ll use less paper in the long run if you start with a better product.
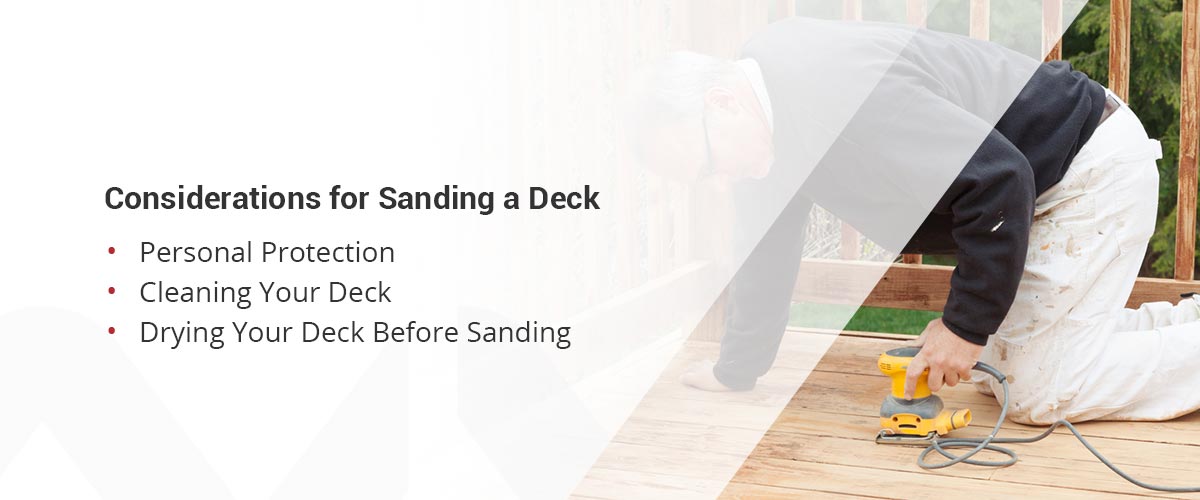
Considerations for Sanding a Deck
Before embarking on your sanding project, there are a few considerations to keep in mind for safety and overall effectiveness.
Personal Protection
The first step in completing a deck refinishing job is acquiring the proper personal protection equipment. Although random orbital sanders are generally safe, you can never be too careful when wood sanding. All modern sanders come equipped with devices to prevent electrical shock, and many are designed with ergonomics in mind and minimize the threat from vibration. But there are other personal safety concerns you should pay attention to when using a random orbital sander on your deck. Consider using these pieces of personal protection equipment:
- Eye protection such as safety goggles
- Hearing guards
- Heavy gloves
- Knee pads
- Respirator, face mask, or dust mask, especially if you don’t have a dust collection method

Another safety concern is your physical condition. Sanding a deck is a long and laborious process and can be physically demanding. Consider if you’re physically prepared to do all your sanding in one continuous effort or if you should break it into more manageable time slots.
Cleaning Your Deck
Cleaning your deck is the first step in the deck sanding process, but the way you do this depends on several factors. You should consider the type of wood your deck boards are made of and the finish it currently has, in addition to the amount of accumulated grime and dirt. You might be fine with simply sweeping off and hosing down your deck before plugging in your sander. But if your deck has built up a layer of dirt and grime, you might have a bigger job ahead of you.
You can clean most wooden decks with a mixture of detergent and water. Apply this cleaning solution with a stiff deck brush designed for the job, then hose it off with a garden sprayer. Where your surface is oily or has organic buildup, try using trisodium phosphate, or TSP, in a hot water pail. TSP is inexpensive, widely available and does a great job of cutting through the tough stuff to leave a clean surface that’s ready for sanding, sealing and staining.
Larger wood decks with dirty surfaces are good candidates for power washing. Power washers remove dirt fast and with minimal effort. There are a few things to be aware of when using a power washer on a wood deck, particularly a deck built with softwood with open grain. Make sure you have the pressure set at a lower rate of around 2,000 psi. Higher pressures like 3,500 psi can be too strong and rip the wood fibers open.
To prevent damaging your deck, use the fan head on your power washer instead of the direct nozzle and be careful of the distance you’re holding the nozzle from the deck surface. It’s best to start with a test area near the outer edge of your deck and approach it slowly to get a feel for how your wood reacts to being pressure washed. Once you’ve gauged the right pressure, work from the deck’s inner edge towards the outside. It’s better to blow debris and water away from your house than right at it.
Drying Your Deck Before Sanding
After you wash your deck, you’ll need to let it dry before you can sand it. The amount of time this takes depends on a few factors, including the type of wood on your deck, the ambient temperature, the relative humidity and whether your deck gets direct sun. Washed decks in the hot sun will dry much faster than shaded ones in cool weather.
As a result, the time elapsed after you clean is much less important than the moisture content in the wood. Sanding a wet deck will only result in clogged sandpaper and a frustrated operator. Ideally, your deck should appear dry to the eye and contain between 15 to 18% moisture. You can use a moisture meter, but an easier method is the Tupperware test. Place a clear Tupperware bowl over a deck board and watch. If condensation forms in the bowl, it’s too wet. If not, you’re ready to start sanding.

Another water test that’s easy to notice is dust. If sanding produces wood dust, you’ll know your wood is dry enough to work with. In fact, very dry deck wood can create so much sanding dust that it can be a problem for you, others who live in your home and even your neighbors. If you know you’ll be working in very dry conditions, you may want to select a random orbital sander with a built-in dust collection system.
Common Sanding Mistakes
Explore some of the most common mistakes people make while attempting to sand their deck:
- Sanding the same spot too long: No matter what type of machine or paper you are using, it is very important that you avoid staying in one spot for too long. You could end up with an uneven surface that may not be obvious until after you apply the finish.
- Applying too much pressure: If you press down too hard while using your sander, it can result in unevenness. You may need to swap out your sandpaper for something with coarser grit if you find yourself needing to apply more pressure for the job. The machine’s weight often offers adequate force.
- Not changing sandpaper enough: As you get into the sanding process, you may overlook the need to change over your sandpaper periodically. As you work, the paper will lose its effectiveness and you’ll need to swap it over to maintain efficiency.
- Failing to clean as you work: The sanding process can get very dusty. This dust can impact the sandpaper’s effectiveness, so you should vacuum or brush away dust periodically while working. Cleaning up will help keep wood dust under control and away from workers.
Signs You Should Sand Your Deck
The following are some of the telltale signs it is time to sand your deck:
Peeling Paint
As your deck endures the sunlight and rain, its paint will often start to flake or peel. When this happens, you can put your sander to good use and bring your deck back to life.
If peeling occurs, it is likely because the wood was not adequately power-washed before paint was applied, and the rest of your deck may start flaking soon. It is best to strip the entire surface and repaint it rather than tend to affected sections.
Splintering
Rain and snow can cause your deck’s wood fibers to splinter over time. When you notice the wood fibers starting to raise, sanding down the surface and refinishing it could benefit you.
The lifted sections can trap moisture and cause costly damage. Lifting can also be a tripping hazard, and a sanding project could be necessary to preserve your existing deck and improve its safety.
Fading or Discoloration
Weather and use will often cause your wooden boards to become faded or discolored. Sanding your dull or stained deck will help bring it back to life and improve its overall appearance.
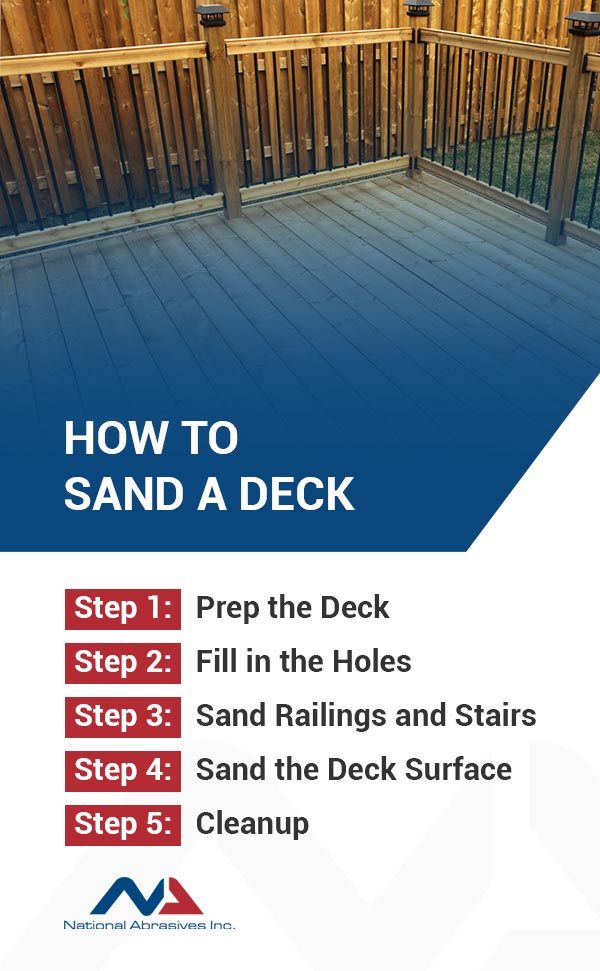
How to Sand a Deck
The next time you are interested in starting your deck sanding project, follow this step by step guide:
Step 1: Prep the Deck
Before getting your sander out, you will need to prepare your deck. The first thing you should do is thoroughly clean its surface.
Remove any furniture and sweep away debris. Try to remove as much dirt and grime buildup as possible without damaging the wood. If you use a power washer, be sure to use a low setting.
Gather your personal protective equipment and you are ready to get to work.
Step 2: Fill in the Holes
Once everything is clean, take some time to closely inspect your deck’s surface. If you see any obvious problems like a loose nail or a split board, you should tend to these first.
Use specialty putty or wood filler to fix any holes or gouges you find. This will help you maintain a smoother finish at the end. Ensure all filler is dry before moving on to the next step.
Step 3: Sand Railings and Stairs
Using a sanding block or sandpaper, you can begin buffing away the top layer off detailed areas of your deck. Railings, balustrades and steps tend to have more complicated elements and it can be beneficial to tend to these first.
Step 4: Sand the Deck Surface
Now you can grab your electric deck sander and sandpaper. We suggest starting with medium grit sandpaper and swapping it out for a more or less abrasive option, depending on your desired finish and the softness of your wood.
Slowly make your way along each board and ensure your work is as even as you can get it.
Step 5: Cleanup
When you are done, use a vacuum to remove any dust. You will want the smoothest surface possible when painting or staining your deck.
It is best to apply the stain as soon as possible after a sanding job to limit its exposure to moisture and the elements.
Benefits of Sanding a Deck
Sanding a deck can have many advantages and ultimately improve the look and feel of the structure. Explore some of the key benefits of this type of project:
- Better stain absorption: One of the greatest benefits of sanding a deck is improving the stain’s absorption into the wood. By getting rid of the old stain, you can achieve a smoother canvas that supports a longer-lasting finish you’ll enjoy for years to come. If you don’t buff out the deck, the stain can enhance the imperfections in the boards, and it likely will not tolerate the elements for as long.
- Freshen up your deck’s appearance: A sanding project is an awesome way to improve your deck’s appearance and make it look brand new. You can enjoy fewer marks in the wood and correct fading from the sun.
- Maintain your investment: Your deck is an investment that requires maintenance to keep it in its best condition. You can protect this asset by utilizing sanders for a deck and refinishing it as needed. A high-quality stain should last for about three to five years, and this is only possible if you properly prime its surface with a sander first.

What Are the Most Common Deck Sanding Questions?
Although you know how to best sand your deck now, you probably still have a few questions about the sanding process and the best sanders for the job. When completing a deck refinishing project, you’ll want to consider which type of sander is best for your project, your deck’s age and whether you’ve recently repainted it.
Explore some of the most common deck sanding questions:
Can I Use a Belt Sander on My Deck?
Belt sanders are aggressive tools, especially when equipped with coarse sandpaper. Because they remove deck material fast, they’re great for larger surface areas and harder wood types. However, they can be hard to handle and difficult to use in tight places. Orbital sanders are more user-friendly, as they can be operated with one hand and fit into confined spaces. They’re also great on handrails.
Belt sanders typically include a sanding belt, motor handles and an attachment for dust collection. Those that have adjustable motor speeds are best for smaller jobs that require more precise surface work.
When using a belt sander, put one hand on the trigger and the other on the handle. Ease the roller on the surface by applying light pressure in the direction of the grain. You can tell when you need to change the belt on your sander when you feel resistance. Although you might think you need to just press harder when this happens, you can protect your belt sander by changing the belt.
You’ll also want to make sure you’re safe when using a belt deck sander. Before using this tool, you should power-wash your deck and drill down loose nails and screws to ensure your belt sander has a clear path.

Can I Use a Floor Sander to Sand My Deck?
It is possible to use a large floor sander to refinish your deck, but it’s not recommended. Floor sanders work best on perfectly flat surfaces, which means the natural imperfections in boards will result in some spots losing excess material while others remain untouched.
Using a random orbital sander is by far one of the most efficient and smoothest ways to sand your deck. These sanders are typically lighter, easier to operate and quieter than other types of sanders for your deck refinishing projects. Because they’re less likely to damage the softer wood commonly used for decks, they’re ideal for beginners, and their shorter strokes result in glossier surfaces.
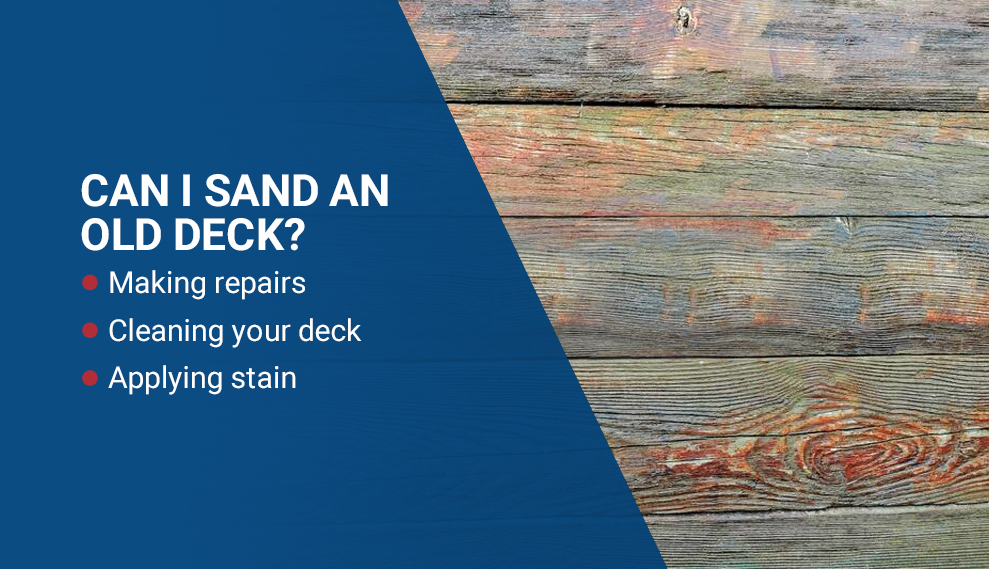
Can I Sand an Old Deck?
Although you can extend your deck’s life span with regular maintenance, it will still accumulate everyday wear and tear over time. Rather than replacing your entire deck, you can choose the much more cost-effective option of repairing it instead.
During your deck refinishing project, you’ll have to take several steps to make your old deck look new, including:
- Making repairs: First, inspect your deck in case you need to make any repairs. You should pay special attention to parts of the deck that touch the ground, like posts, joists and stairs. If you can penetrate the wood of these parts of your deck with the tip of a screwdriver, your deck is structurally damaged and requires significant renovation. You should also make sure your deck is still properly connected to your house. Flashing and spacers shouldn’t be missing, rusted or damaged.
- Cleaning your deck: You should clean your deck once a year for regular maintenance. Use a brush with stiff bristles to work the cleaner into the wood. You can use a chemical, plant-based or DIY cleaner that you create yourself. After applying the cleaner, rinse your deck with a fan nozzle pressure washer for wood that’s damaged by the sun or blemished by stains. You’ll also want to wear protective equipment and protect nearby plants from chemical burns.
- Applying stain: Next, if you have an older deck, you’ll want to use a semitransparent stain. This type of stain lasts longer and provides more protection than the clear finishes more frequently used on older decks. You should use a sprayer to quickly apply a layer of stain at an inside corner, working outwards parallel to the boards. Next, smooth out the surface with a roller or brush. You should make sure your stain isn’t too thick to prevent inconsistent drying.
Do I Need to Sand a Deck Before Repainting?
You should sand your deck before repainting, especially if most of the paint on your deck is peeling. Even if you manage to remove nearly all the paint through scraping, sanding will help smooth the edges and leave behind a surface that promotes optimal adhesion of the new paint.
When Is the Best Time to Sand a Deck?
The best time to start your sanding project is when the weather has been dry for at least three days in a row. You will want as little moisture as possible in the wood for the easiest sanding process and the best finish.
Can I Sand Pressure-Treated Wood?
No. If your deck is made with pressure-treated wood, sanding it would remove some of the protective coatings and make the wood look undesirable.
How Long Does Sanding a Deck Take?
The answer to this question will depend entirely on the size and structure of your deck. If you have less surface area, you may be able to sand it in just a couple of hours. Larger decks could require you to work for several hours or up to two days.

Rely on National Abrasives, Inc. for Deck Sanders and Supplies
You should also be sure that you’re purchasing your sander from a reputable supplier. National Abrasives, Inc. is family owned and operated and we’ve supplied random orbital sanders and other abrasive equipment for over 20 years. We carry a wide range of sanders from top-quality manufacturers like Mirka, including an extensive selection of power sanders. We also supply quality sandpaper to provide everything you need for your work.
Contact us today to learn from a home improvement expert about how our products and services can help with your deck refinishing projects!
Learn More About Wood Sanding
*Updated November 17, 2022