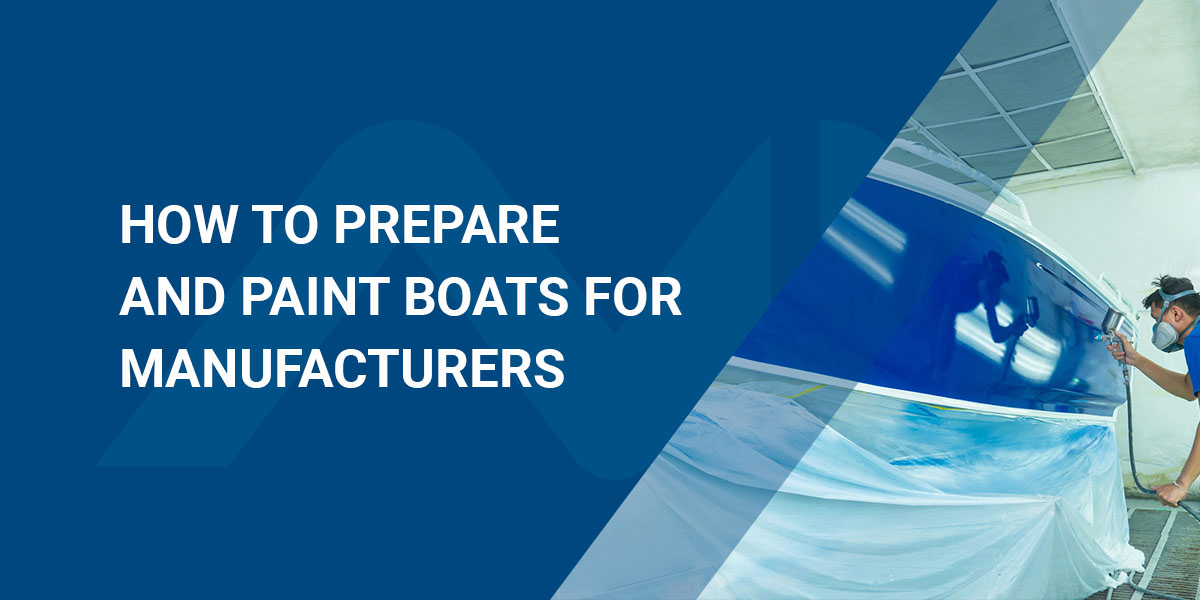
As a boat manufacturer, how you prepare and paint your boats affects the quality you can offer your customers and the efficiency of your business. A properly prepared, well-applied paint job makes for an attractive and long-lasting boat, protecting it from corrosion and sun damage.
At the same time, you want to use cost-effective, efficient and scalable products and techniques to prepare and paint your boats. Learn more about the best ways to prepare and paint boats.
Key Boat Preparation and Painting Supplies
First, ensure you have all the supplies and equipment you need in sufficient quantities:
- 80- to 120-grit sandpaper
- 320-grit sandpaper
- Cloths and sponges
- Degreaser and soap
- Epoxy filler
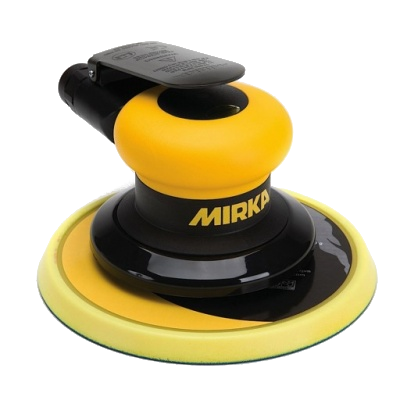
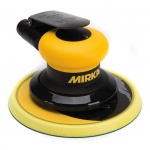
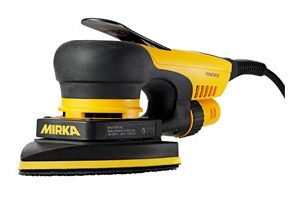
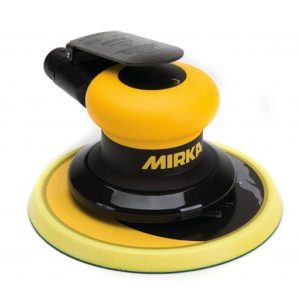
- Finishing sander
- Hand sanding pads
- Marine paint for topside and bottom
- Mask
- Masking tape
- Paint preparation kit
- Primer
- Protective glasses
- Putty knife
- Small paintbrush for touch-ups
- Spray paint gun
- Tack rag
- Tarps
Of course, you could paint your boats with a paintbrush and roller — some boat painters are very skilled at this — but spray painting produces faster, more consistent results, making it more efficient and scalable for your business.
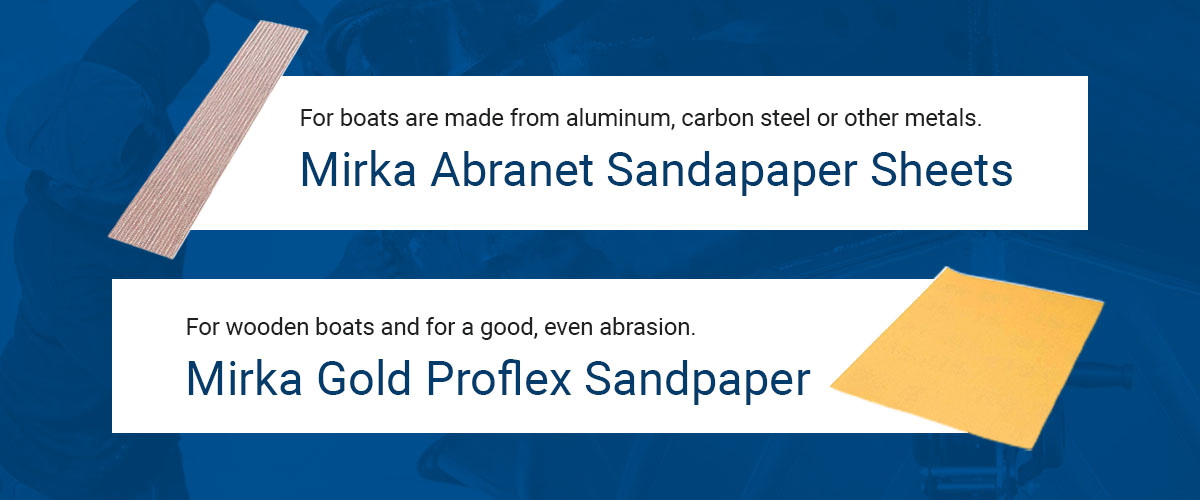
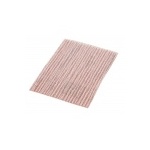
If your boats are made from aluminum, carbon steel or other metals, use a breathable sandpaper, such as Mirka Abranet sandpaper sheets, for dust-free sanding. For wooden boats, opt for Mirka Gold Proflex Sandpaper for a good, even abrasion.
To optimize cost-effectiveness, calculate the quantities of all these materials that your business needs each month. Then, order all your boat manufacturing supplies in bulk, including sanding materials and paint. This ensures you always have the right supplies on hand to maintain optimal productivity. Plus, you may benefit from bulk order discounts that improve your net profitability.
Hull Preparation Tips Before Painting
How well you prepare your boats for painting significantly influences how well the paint job will turn out in the end. Here’s a five-step hull preparation process you and your team can follow:
- Remove hardware: If assembly takes place before painting in your production process, you’ll need to remove all hardware, including rails, vents, cleats and any trim on the boat that should not be painted along with the hull. This is also necessary if you offer a refurbishment service. For enhanced efficiency, skip this step by painting the hull before adding hardware to new boats.
- Repair imperfections: If the hull material has any surface imperfections, fix these before painting begins. If the surface is uneven, you can address this through sanding.
- Clean the surface: Clean the hull before painting begins. It’s important that no dirt gets under the primer or paint during the process.
- Sand the hull: Sand with a finishing sander and 80- to 120-grit sandpaper, plus hand sanding pads for any small, difficult spots. Sanding is essential if you are repainting an old hull for a customer. But even if the hull is new and has never been painted, sanding is still necessary to ensure the surface is smooth for painting. This will help the paint coat adhere, endure and look its best.
- Cover other areas: Use painter’s tape, a drop cloth or a tarp to cover any parts of the boat or surrounding area you need to protect from paint.
Priming a Boat for Painting
Before you can paint, you must prime. Choose a primer compatible with the boat’s materials, the paint and the conditions each part of the boat will withstand. For example, UV-resistant two-part polyurethane paints are durable and perform well for topsides. One-part polyurethane paints may be slightly less durable, but they are cost-effective and still have UV-resistant properties.
A quality epoxy primer may be versatile enough to prime the entire boat. Epoxy offers excellent water and corrosion resistance, which are especially important for the hull’s sides and bottom. However, a polyurethane primer is optimal for the topside because its UV resistance is superior for prolonged sun exposure.
With the right primer or primers, you can proceed to prime the boat in six steps:
- Wipe the surface with a tack cloth.
- Apply the first coat — thin and even. Allow it to dry.
- Fill low spots using epoxy and a putty knife. Leave the epoxy cure.
- Sand the surface lightly with a high-grit sandpaper, around 320-grit.
- Wipe the hull with a tack cloth again.
- Apply the final coat of primer.
Industrial Boat Painting Techniques
With the boat prepared and primed, it’s time to apply the paint:
- Consider using different paints for the bottom and the topside to optimize water resistance below and UV resistance on top. If you do this, tape the waterline to ensure a straight and clean division.
- Mix the paint.
- Wipe the surface with a tack cloth.
- Spray the paint from an adequate distance to avoid dripping. For the same reason, err on the side of a thin coat. This is especially important when spraying near-vertical parts of the hull that are prone to dripping.
- After drying, sand away any imperfections with high-grit sandpaper. Use waterproof sanding sheets to prevent mess in case the epoxy isn’t fully cured.
- Wipe with a tack cloth again.
- Apply additional coats as needed, keeping each one thin and even. Remove the tape after applying the last coat but before it dries to reduce the risk of peeling.
- Apply an even coat of sealant or topcoat for durability and resistance to water and sun. Ensure the sealant or topcoat is compatible with the paint you use.
- Clean the area and sustainably discard materials like tape and rags.
- Inspect the entire boat’s paint job for gaps or inconsistencies. If you find any, fix them with a small brush.
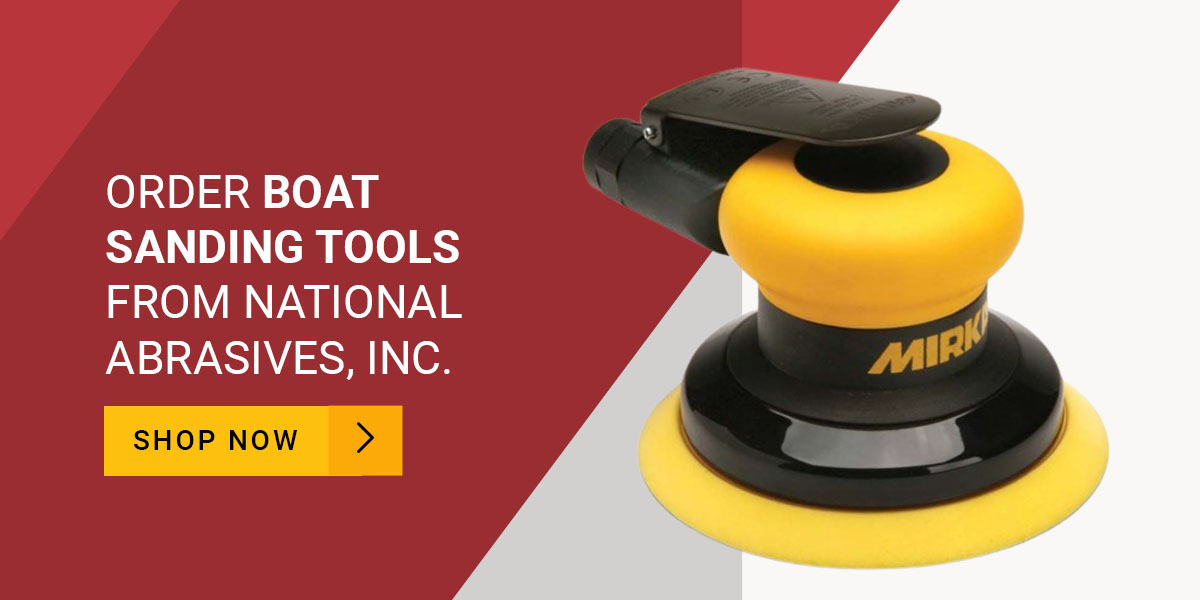
Order Boat Sanding Tools from National Abrasives, Inc.
Efficient, cost-effective and scalable industrial boat painting needs the right supply of sanding equipment. National Abrasives, Inc. stocks all the abrasive supplies a boat manufacturer needs, including:
- Mirka Pneumatic Orbital Finishing Sanders
- Mirka masking tape and film
- Mirka Mirlon hand sanding pads
- Mirka Abranet sandpaper sheets
We also offer many other industrial sanding tools and materials from top brands. Our sanding abrasives are available in various grit sizes, from coarse to super-fine, so we can supply the perfect material for each step of your process.
For superior boat manufacturing efficiency, partner with National Abrasives, Inc. Our customer service is friendly, supportive and ready to help your business succeed through optimal abrasive choices. We offer competitive pricing plus special discounts for bulk orders of Mirka products, all with fast, free shipping for your large orders.
Contact National Abrasives, Inc. today to learn how we can meet your boat sanding needs. We’ll create a custom quote for your tools and supplies in the right quantities and at the best prices.